The No. 1 reason we business owners have a Facebook page, or any social media page really, is to make money.
We want consumers to notice our page, our posts, and drive them to our company Website, call us, sign up for our blog, fill out a form on our page, and eventually buy our products or contract our services. We want business, and business usually means making money.
Thankfully, Facebook has implemented a wide range of apps and tools for business page owners to help us achieve their goals.
These tools enable business owners to create call to actions to drive sales or traffic to your company site, or to shop directly on your Facebook page.
[bctt tweet=”You can use these tools to make Facebook work for you. #socialmedia #Facebook” username=”cjscribe”]
In following slideshow, or post if you’re reading, I will go over a few ways on how to use Facebook to achieve your objectives, and make money with your Facebook page.
Set a Strategy
Before you even set up a Facebook Business page, you must define a strategy. Other than making money, what are your goals? Get email sign ups? Drive traffic to your website in general or to a specific landing page? Send users to your online store?
Once you know what you want to achieve, and have your strategy in place, you can use one of the following ideas to achieve your goals.
Customize Facebook Tabs
Before Facebook implemented some of its newest page apps for business owners, people were already utilizing Facebook tabs to install third-party apps and shopping pages.
Facebook Tabs have been around since the beginning of pages. They use to be located directly under the Cover photo, and only five were visible without clicking the “more” button.
The first two visible tabs were Timeline and About, which you couldn’t move. But the other two could show customized tabs, if you clicked on manage tab to move your custom tabs higher.
Now, with Facebook’s recent layout and design change, all tabs are visible on the left side of your Facebook page.

You can use Facebook tabs in a variety of ways: to install subscription forms for your blog feed, integrate other social media platforms such as Pinterest or Instagram feeds, link to your online store, or, if you’re a real estate agent, use an app for searching real estate listings.
Get Email Signups
If you use Mailchimp, an email newsletter marketing software, you can install a subscribe or sign up form on a tab.
You can also use software apps such as Shortstack or Wooboox Apps, both which offer free and paid accounts, to create and install several types of apps on your Facebook tabs.
One of my tabs shows my blog feed with a subscription form. Once I’ve got subscribers, I can nurture them as leads through the content I post on my blog, with an occasional marketing campaign.
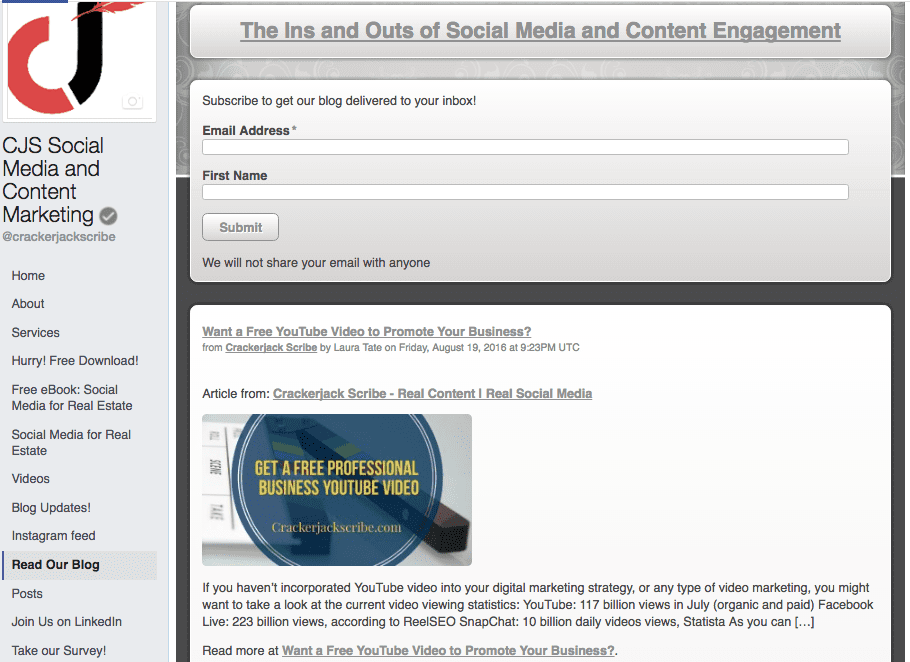
Remember to be fully upfront when asking people to hand over their email—every subscription based type of campaign should at some point remind subscribers as to how or why they are on your list, and what type of emails they can expect from you.
Use a double-opt in method, where a subscriber needs to confirm via email they signed up for your newsletter or other email campaign. That way you won’t be penalized by your email service provider if you get a bunch of unsubscribes at some point.
Contests and Giveaways
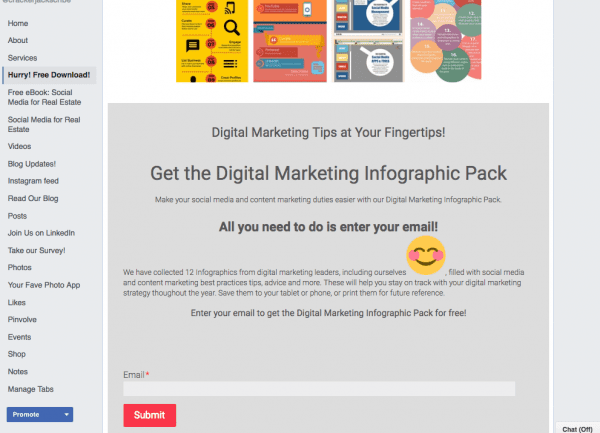
Another great way to use Facebook tabs is to install Offers and Contest apps, which collects email leads in exchange for free digital downloads, coupons, or another offer. You can later use these emails in re-marketing efforts for paid services and products.
Here’s a download offer I have installed on one of my Facebook tabs, using Shortstack. Later, I can use the emails for a new marketing campaign.
Need help with your digital marketing?
Click here to find out how we can help you expand your Web presence and generate traffic and leads.
Boost Your Posts
One of the easiest ways to convert Facebook interaction into a traffic-driving machine is Boosting posts.
Boosting a post is paying to expand the reach of a status update you’ve published to your Facebook page. The goal can be to drive traffic back to your online store, or landing page, or simply expand your brand presence by getting engagement such as likes, shares and comments.
When you boost a post it will appear in your target audience’s news feed.
You can boost a post when you create a status update directly on your page, or after your publish it. The post should contain a captivating image, and information about your product or service, as well as a strong CTA if applicable.
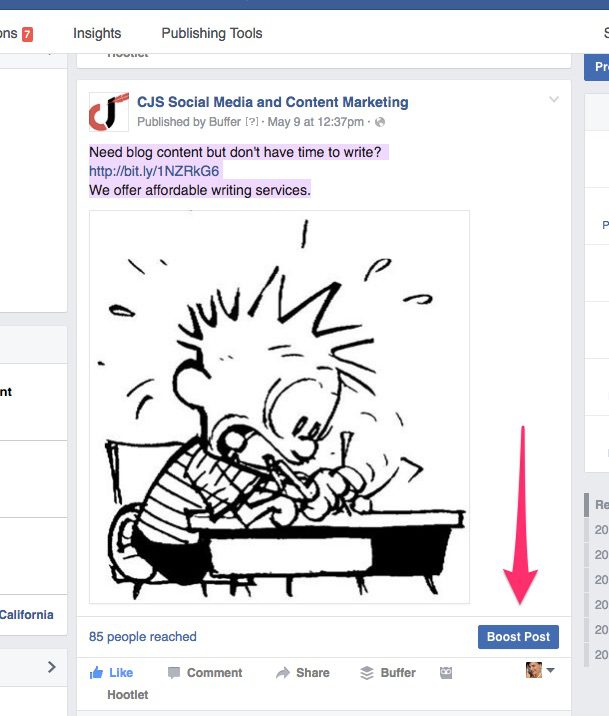
You’ll have the option to target people who like your page, or reach a new audience by choosing demographics such as location, age, gender, as well as interests. You can use the same audience for other posts and Facebook ads later on.
After choosing an audience, a budget and how many days you want your boost to last, Facebook will show the estimated reach for your advertising options.
If you’re familiar with Boosting posts or advertising on Facebook, you no longer have to worry about limiting text on your ad images to 25% of the total image size. However, Facebook states that images with less text are more likely have more reach, so it’s best to limit text, including any included in a logo.
As your post starts populating news feeds, you can see how many people it has reached by viewing the metrics right from the post, or in your Page Insights. You can also go to Manage Ads see boosted post engagement.
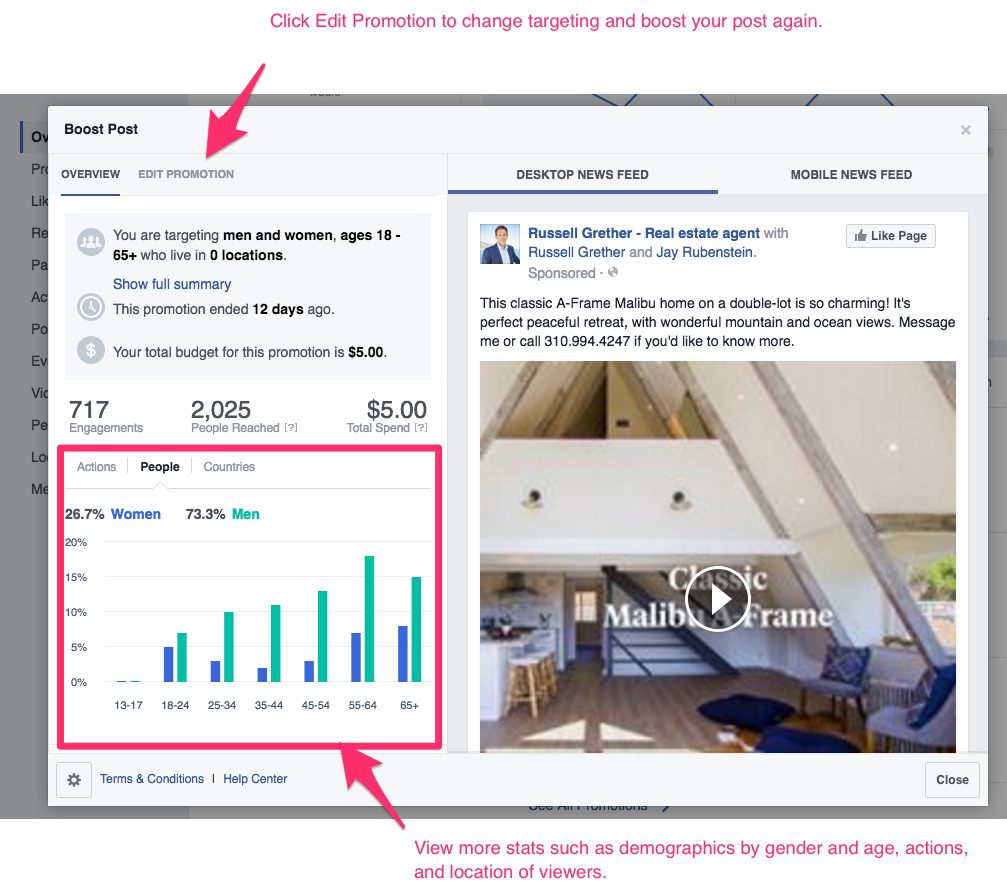
In Facebook Page Insights you can see how your organic posts stacks up against your boosted posts.
Click on View Results of a boosted post to see detailed information such as what actions were taken on a post — shares, likes, link clicks, comments, as well as any negative feedback.
Facebook always gives you the opportunity to boost your post again, or create a new post.
Create a Facebook CTA
Another way to drive lead and revenue-generating traffic from your Facebook page is to use the CTA or Call-to-Action button at the bottom, right of your cover image.
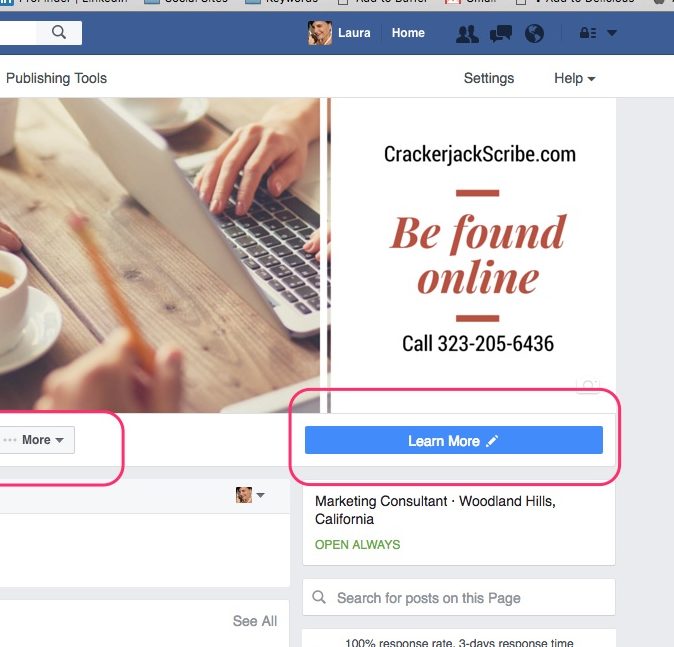
The CTA button can link to any destination on or off Facebook that aligns with a business’ goals.
Page admins can select from several call-to-action options such as Shop Now, Learn More, or Sign Up. Facebook has added more CTAs since it first introduced the button.
Take the following steps to set up a CTA:
- There should be a button on the bottom right of your cover photo that says, Add a Button.
- Choose your call to action from the drop down menu. Make sure to save your changes.
- If your CTA leads to an offsite landing page, put in the Web address. If it’s a Call Us CTA, put in your phone number. If you have an App to promote, put the correct link to your app.
- Once you’ve input all information, click Create.
- After you’ve created a call-to-action button, you can track the number of people who have clicked on the button.
There are three ways to see how many people have clicked your Page’s call-to-action button:
- The easiest is to look at This Week below your status update box.
- To see insights for a longer period, hover your mouse over your Page’s Call to Action button, and click on View Insights to see how many clicks it’s received in the past seven days.
- Hover your mouse on the More button below your cover page, and click Insights to see the data.
Try different CTAs, and promoting your button to garner more engagement and click-throughs.
In the past, if you wanted to sell something directly from your Facebook page you had to use an outside app like Shopify, or Storefront Social. But now Facebook has its own in-house app that enables you to create a shop in minutes, and sell products directly from your Facebook page.
The beauty of using Facebook’s Shop app is users never have to leave Facebook to buy something.
You will need to open a Stripe account in order to process payments from your Facebook shop.
Below is an example of a dance shoe shop on Facebook. The way it’s presented is fairly simple, but it makes it easy both for the shopper to browse and buy, and for the owners to set up the shop.
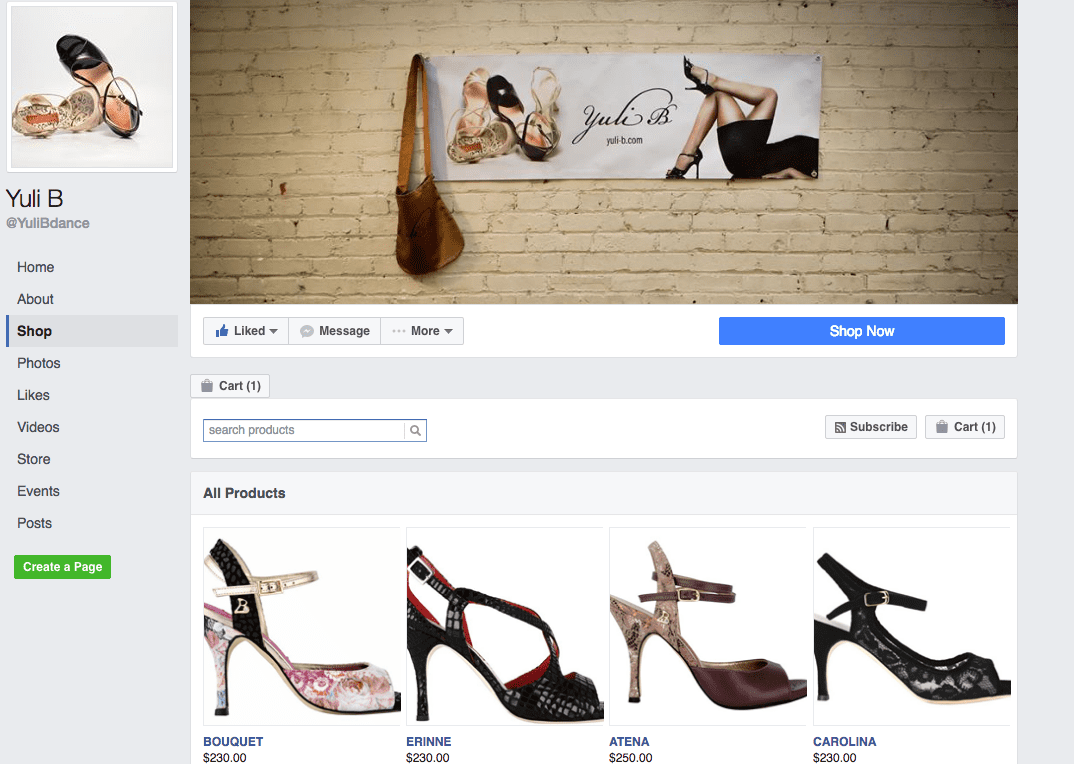
Businesses that offer physical goods, and have a Facebook page that is categorized as Brands and Products can set up a shop. It’s more in line if you sell physical products, but you can also sell digital products via this method too.
A caveat, the Add a Shop feature is still in beta and it isn’t offered to everyone.
How to Setup a Facebook Shop
- To open up a shop, log on to Facebook and go to your business page. At the bottom right of your cover page you’ll see [maybe] a little notice that says “Add Shop Section.”
- Click on Add Shop Section, and agree to the merchant terms and policies, click continue.
- You will be prompted to fill out all your business contact information and address, including connecting with stripe. Click “Submit” when you’re done.
Note: The layout of business pages has changed, so the Add Shop Section might appear elsewhere on your page if it shows up at all. If it does, follow the instructions in the next steps to set it up.
With a shop section on your Page, you can:
- Upload products and product information
- Curate and customize your shop’s product catalog
- Sell directly from your Page
- Manage orders
- Run a Facebook ad to promote (boost) one of your products
- Get Insights
Add Products
- To add products to your shop, click on your Shop tab on the right.
- Click the “Add Products” button to start adding your items to your Facebook Shop.
- Upload a photograph of an item you want to sell. You can upload new images from your desktop or choose from existing images in your Facebook gallery.
- Fill all the details such as pricing, description category and other necessary information. Then click save.
- Products submitted will be processed through a short review and once approved, will be visible to your audience.
You can always make changes in product images, pricing or other details by clicking the Edit button under every product in the shop.
You can view transactions, orders, shipping information and more by going to Page Insights, and Shop.
In Summary
While change is not going to rain down immediately from your Facebook page, if optimized properly, and using a solid and consistent strategy, you will be able to successfully generate business, and revenue, from your Facebook page.



Leave a Reply